How to Clean Your Own Carpets
Complete 10-Step Guide to DIY Carpet Cleaning
Your carpets probably see a lot of foot traffic and take quite a beating. Stains, dirt, dust mites, allergens, and grime can build up over time, making your carpeting look dingy and worn out. While you could hire a professional carpet cleaning service, it can get expensive. With some basic supplies and a little elbow grease, learn how to clean your own carpets and save some money.
Is DIY Carpet Cleaning Right for You?
DIY care does require some physical effort. Make sure you’re up for the task by considering these factors:
| Time to Clean | Cost | Difficulty Level | |
|---|---|---|---|
| DIY | 2-4 hours | $50-$150 for supplies | Moderate physical effort |
| Professional | 1-2 hours | $100-$250 per room | Skill needed for best results |
If you have older carpeted floors that are heavily soiled, a professional may be better equipped to get them really clean. But for lightly to moderately soiled carpets, DIY is a great option.
Supplies You’ll Need
Cleaning your carpeting involves a combination of equipment for agitation and suction, plus cleaning solutions. You’ll need:
Tools/Equipment
- Vacuum cleaner – Use your regular vacuum first to pick up surface debris.
- Carpet rake – Helps agitate fibres to loosen deep dirt.
- Carpet cleaner machine – Can be rented or purchased; ideal for DIY.
- Scrub brush – For working cleaning solutions into the carpeting.
- White/clean cloths – For blotting and stain removal.
Cleaning Solutions
- Carpet shampoo – Look for a good general-purpose cleaner.
- Spot remover – For targeting stubborn stains.
- Baking soda – Helps neutralise odours and gently cleans.
- White vinegar – Removes stains and helps prevent re-soiling.
- Hydrogen peroxide – Bleaches some stains and kills germs.
Other Supplies
- Gloves
- Knee pads
- Protective eyewear
- Fans or air movers – Help dry faster
Test for Colorfastness
Before getting started, it’s crucial to check whether your carpet is colourfast. Carpet dye can run or bleed when cleaned, creating irreparable damage. To test, dab a small amount of cleaning solution onto an inconspicuous area. Press down with a white cloth for 10 seconds. If any colour transfers to the cloth, your carpet is not colourfast. Only proceed with non-dye transferring cleaning methods.
Step-By-Step Carpet Cleaning Process
1. Vacuum every inch
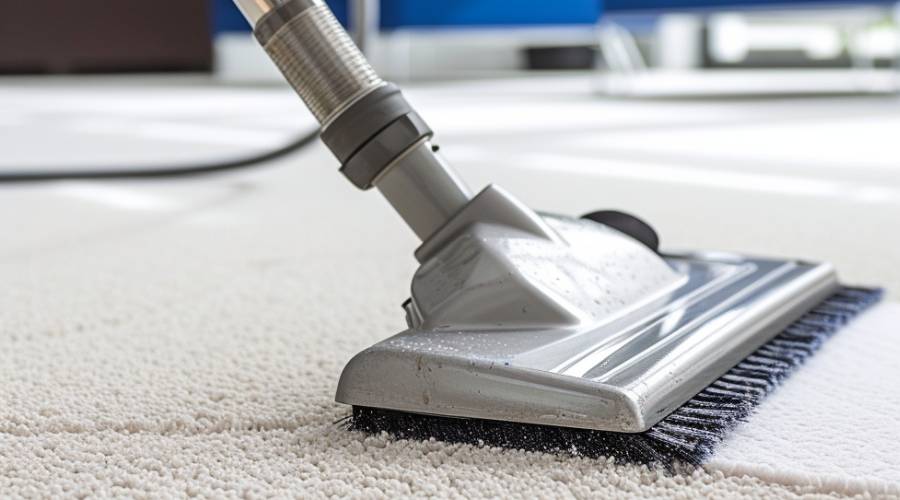
Push and pull your vacuum slowly over the entire floor cover to pick up all the loose dirt, dust, hair and particles on the surface. Make sure to vacuum under furniture and along the walls and edges too. Vacuuming first makes the rest of the cleaning easier.
Pro tip: Use the wand attachment to vacuum carpeted stairs and upholstery. Move furniture if needed to reach all areas.
2. Spot treat tough stains
Use a carpet spot remover spray or gel and scrub stains with a small brush before you start overall cleaning. This helps lift up stains like food spills, dirt or grease from down in the fibres. Let the removers soak for a few minutes before scrubbing. Be gentle so you don’t spread the stain.
Pro tip: For best results, apply removers generously and let soak for 15-20 minutes before scrubbing. This gives it time to work into the fibres.
3. Rake across the carpet
A carpet rake tool looks like a large metal comb. Gently rake it across the carpeting in all directions. This helps bring up the dirt and hair that is trapped down deep. The teeth loosen up the stuff that vacuuming doesn’t get. Rake lightly. You don’t want to pull or damage the fabric.
Pro tip: Rake in several different directions – forward, backward, side to side – to agitate dirt thoroughly. But don’t over-rake, or you may damage fibres.
4. Clean with carpet shampoo in a machine
Fill up the clean water tank on your carpet cleaner machine with very hot water. Add the shampoo to the amount recommended on the bottle. Push the machine slowly over the floor and press the button to release the shampoo solution onto a small section at a time. The brushes will scrub it into the carpet fibres.
Pro tip: Work in rows and do only a small area of carpet at once so the shampoo stays moist. Overlap rows slightly.
5. Rinse with just hot water
Once you’ve gone over the whole floor with the shampoo solution, fill up your machine again with only plain hot water – no soap. Go over the carpet again to rinse out all the dirty shampoo and dirt. Rinsing helps get your carpets really clean.
Pro tip: Rinsing until water runs clear ensures no residue gets left behind. Check the colour of the rinse liquid in the tank.
6. Blot up extra moisture
After cleaning and rinsing, there will still be lots of moisture soaked into the carpet. Use white cotton towels to gently blot up as much as you can. Don’t rub hard or you might damage or fuzz the carpet.
Pro tip: Place several layers of cloth over each area and stand on them to absorb moisture. Change towels as needed.
7. Spot clean again if needed
Check for any leftover stained or dirty-looking areas after everything dries. Use your spot remover again on them. Let it soak in for 10 minutes, and then blot it with a clean cloth.
Pro tip: If stains persist, try a more heavy-duty product formulated for that type of stain.
8. Brush the fibers
Once the clean carpet is fully dry, use a soft brush or carpet rake to fluff up the fibres again. This makes the fabric look fuller and softer.
Pro tip: Brush against the natural nap direction first, then with it to revive flattened fibres.
9. Use fans to speed drying
Point box fans or dryer machines so they blow air across the top of the carpet. This will make the floors dry faster so you can use the room again sooner.
Pro tip: Place blowers so air circulates across the entire carpet, not just one area. This ensures even drying.
10. Let carpet fully dry
Be very careful not to walk on damp carpeting. Keep furniture off them too. Give it several hours or overnight to completely dry. Wet carpets can get mouldy or discoloured. Once 100% dry, vacuum again to make sure any last dirt is gone.
Pro tip: Speed drying by keeping indoor air circulating with fans, opening windows, and running AC to remove humidity.
Now your carpets should be clean, fresh and comfortable to walk on again! Just be sure to vacuum often so they stay nice.
Tips for Stubborn Carpet Stains
Even after full carpet cleaning, some challenging stains may linger. Use these stain removal methods:
- Baking soda – Sprinkle generously on ink, grease or oil stains. Let sit for 15 minutes before vacuuming. The baking soda will absorb and neutralise many stains.
- Vinegar – Mix one part white vinegar with one part water. Spray or blot on pet stains, coffee, wine, or food spills. It helps remove dyes.
- Hydrogen peroxide – Gently dab on blood stains with a 3% solution. Let bubble for 5 minutes before blotting. Be careful not to bleach colours.
- Dish soap – For wax, chewing gum or oily stains, gently scrape off excess. Sponge with dish soap and rinse thoroughly.
- Ammonia – A half cup in a gallon of water helps lift surface dirt and stains. Never mix ammonia with bleach!
With a little trial and error, you can find the right remover for any stubborn carpet stain you come across.
Final Carpet Cleaning Tips
- Vacuum frequently, at least weekly, in high-traffic areas. This prevents dirt buildup.
- Immediately treat spills and stains to prevent setting and spreading.
- Consider carpet protectors or treatments that repel dirt and stains over time.
- Rotate area rugs to evenly distribute wear and allow the carpet to air out.
- Deep clean every 6 months to 1 year as needed to refresh their appearance.
Knowing how to clean your own carpets is extremely rewarding. Your floors will look noticeably brighter and cleaner. With regular care and maintenance cleaning, your carpets can hold up for years to come, saving you money on expensive replacements. Achieve professional-looking results and a revitalised home with these DIY carpet cleaning tips.


